


Welcome to the world of circuit prototyping! Circuit prototyping is a fun and rewarding way to create your own unique electronic projects. Whether you’re just getting started or have been building circuits for years, having the right tools and components can make all the difference. Here’s a guide to help you find the perfect circuit prototyping setup for your needs.
Step 1: Get the Right Breadboard
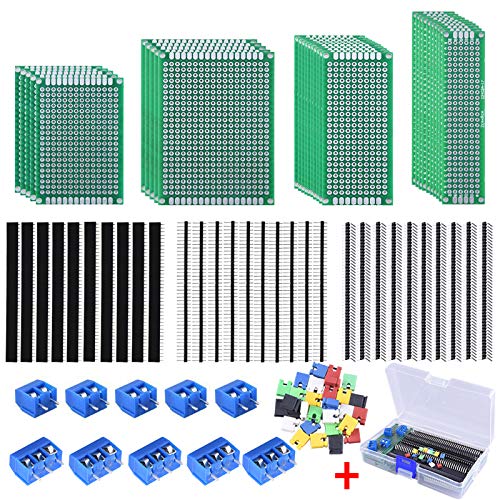
A breadboard is an essential tool for circuit prototyping that allows you to quickly and easily build circuits without soldering. When shopping for a breadboard, look for one with at least 400 tie points, as this will provide plenty of room for most projects. You can also choose between solderless breadboards and solderable breadboards. Solderless breadboards are ideal for prototyping, while solderable breadboards are best for more permanent projects.
Step 2: Gather the Right Components
Once you have the right breadboard, it’s time to gather the components you need to make your circuit. This can include resistors, capacitors, transistors, LED’s, switches, and more. Make sure to match the components to the type of breadboard you chose, as some components might require soldering. It’s also a good idea to get a variety of components so that you can experiment with different configurations.
Step 3: Get the Right Tools
In addition to components, you’ll also need some tools to help you build and debug your circuit. This includes a multimeter for measuring voltage, current, and resistance; a soldering iron for attaching components; and a set of wire strippers for cutting and stripping wires. You may also want to invest in a breadboard jumper kit, which contains various lengths of jumper wire for making connections between components.
Step 4: Start Building!
Now that you have the right tools and components, you’re ready to start building your circuit. Start by laying out the components on your breadboard and connecting them using jumper wires. Once everything is connected, use your multimeter to test the circuit and make sure it is working correctly. Finally, if you’re feeling brave, you can solder the components together to make your circuit permanent.
Have fun and happy prototyping!
Practical Electronic Design for Experimenters
$25.30
$25.30 USD


